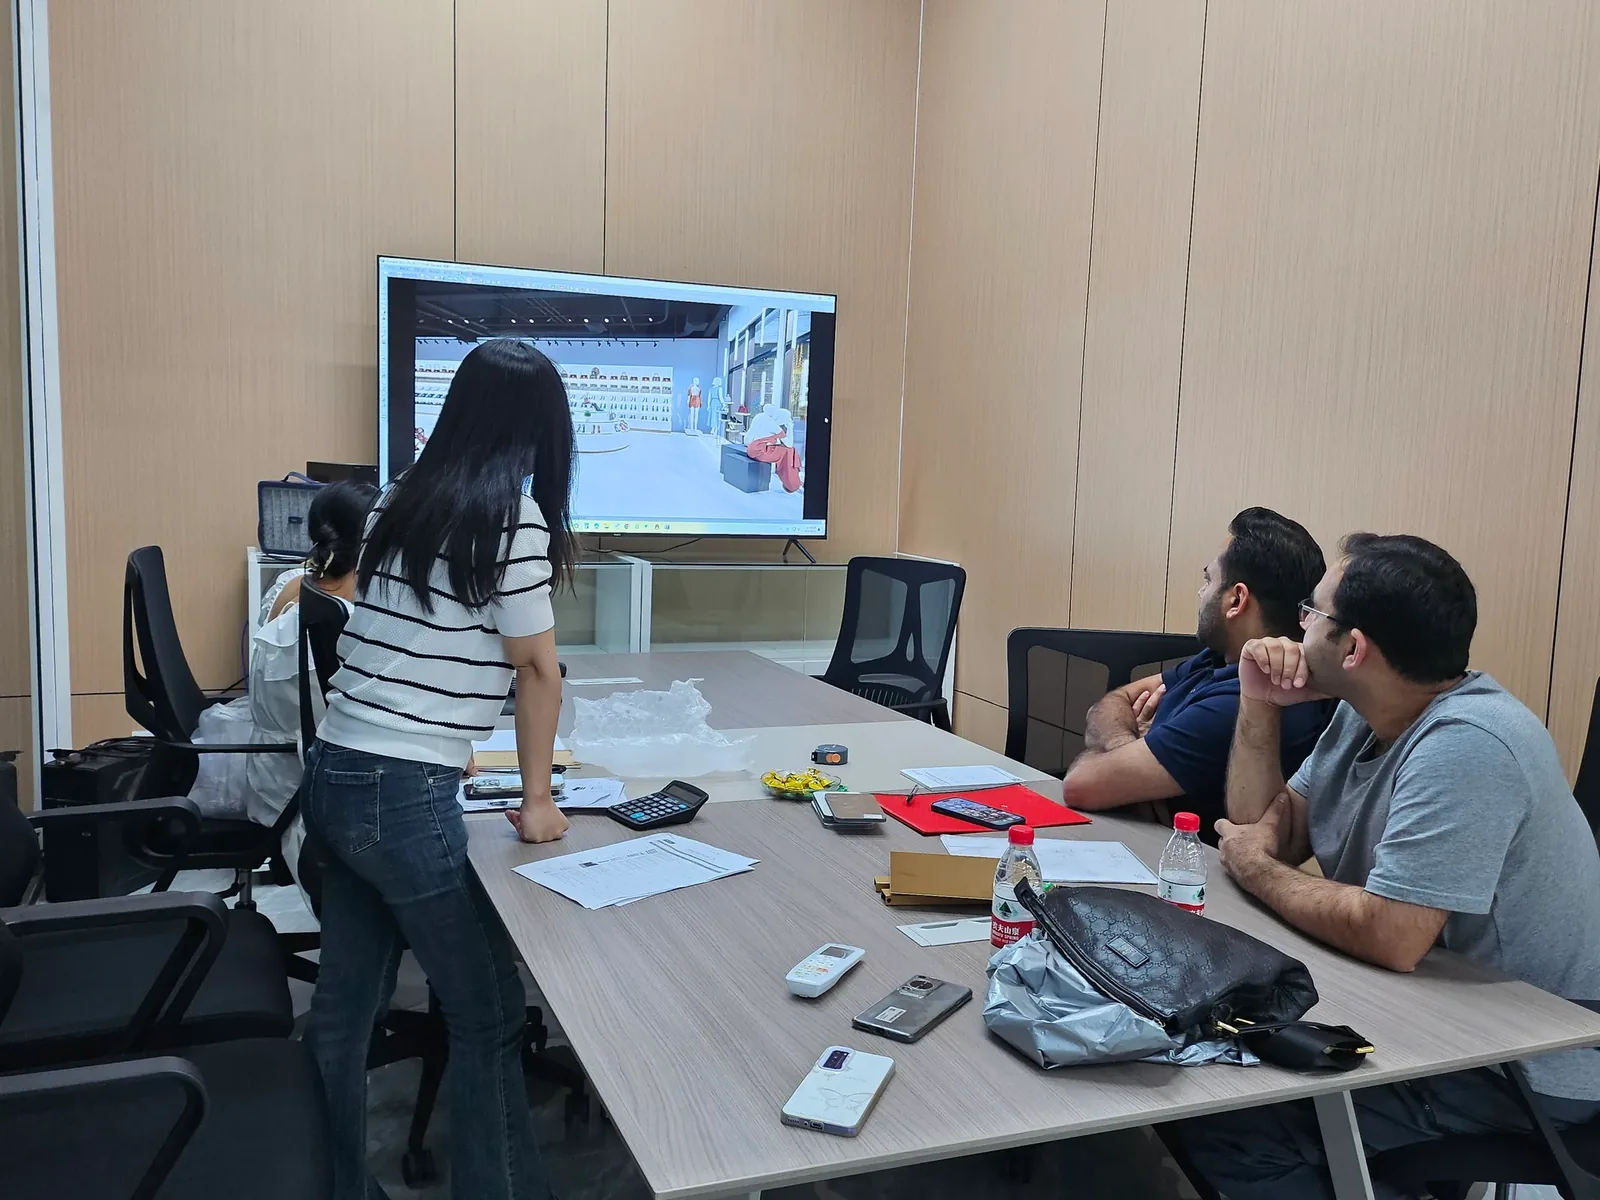
Using Site Photos to Support Accurate Store Measurements
Site photographs are most useful when they explain the location and context of a measurement.
- Published
- 2026-09-08
- Updated
- 2026-09-08
- Reading time
- 8 minutes

Site photographs are most useful when they explain the location and context of a measurement. An unorganised folder of close-ups can leave a remote fixture designer uncertain about which wall, opening or obstruction is being shown.
Three decisions to carry into your project.
- 01
Begin with a plan-based photo map
- 02
Capture context before detail
- 03
Show the dimension endpoints
Start with the decision
Site photographs are most useful when they explain the location and context of a measurement. An unorganised folder of close-ups can leave a remote fixture designer uncertain about which wall, opening or obstruction is being shown. Build a photo index that connects each image to the plan, the relevant dimension and the question it helps answer.
The aim is not to replace measured information with pictures. Photographs support interpretation, reveal missing context and help the designer request further checks. Keep measured values in an identifiable record and use the images to show their physical references. This creates a clearer handover than asking the supplier to estimate the store from visual appearance.
Begin with a plan-based photo map
Take a simple floor plan or site sketch and establish a consistent orientation. Mark the entrance, wall identifiers and other recognisable reference features. Add numbered camera positions or image references where they help the reader understand the view direction.
Use the same identifiers as the measurement register. If an opening is O2 in the survey, its photographs should refer to O2 rather than introducing an unrelated name. This allows the designer to move between the drawing, schedule and images without translating several naming systems.
Record the site visit date and the condition being documented. Photographs taken before finishes are installed may explain the construction stage, while later images show the final visible surfaces. Both can be useful, but they should not be mixed without telling the recipient which state each image represents.

Capture context before detail
For an important feature, start with an orientation image showing where it sits within the store. Follow with a closer view that explains the feature and, where needed, a detail view of the measurement reference. This sequence helps the reader understand both the overall relationship and the local condition.
A close-up of a tape reading can be difficult to use if the endpoints are not visible or identified elsewhere. Conversely, a wide room photograph may locate a wall but fail to show the precise surface used for a dimension. The two types of image support different questions and should be linked in the index.
Do not take large numbers of nearly identical photographs without a purpose. Choose views that answer distinct questions, such as location, boundary, projection or condition. A smaller organised package is easier to review than a long sequence in which the important image is hidden among repetitions.
Show the dimension endpoints
When photographing a measurement, make the start and end references understandable. If both cannot be shown clearly in one image, use linked views and an annotated sketch. The receiver needs to know what the value describes, not only that a measuring instrument displayed a number.
Identify whether the measurement refers to a finished face, exposed surface, frame or another feature. If a temporary object affects access to the reference, note that condition. A photograph should not create false confidence by showing a reading while concealing that the intended endpoint could not be reached.
Keep units and reference notes in the measurement register even when they appear in the image. A recipient may review a reduced-size preview or a printed contact sheet where small markings are difficult to read. The photograph provides context; the schedule preserves the explicit value and qualification.
Avoid estimating dimensions from appearance
Perspective, viewpoint and the shape of the visible scene can make distances difficult to judge from an ordinary image. A fixture designer may use a photograph to understand an arrangement, but a production dimension should not be invented by comparing an unknown object with another object that merely looks familiar.
If a reference scale is used, explain what it represents and where it is located. Its presence does not automatically make every dimension in the photograph measurable, particularly when objects lie at different depths or angles. The responsible survey method must be appropriate to the actual question.
When the supplier requests a missing dimension, arrange a measurement or identify the information as unavailable. Do not quietly convert a visual estimate into a confirmed value in the drawing. The photo index should help expose information gaps rather than make them harder to see.
Use annotations that preserve the original evidence
Annotate a copy when arrows, labels or outlines are needed. Retain the original image with a stable reference so another reviewer can see the unmarked context. This is useful when an annotation obscures a small detail or when the team later asks a different question about the same area.
Keep annotations limited to what they explain. An arrow can identify a dimension endpoint; a shaded outline can locate the proposed fixture zone. Avoid drawing a speculative construction detail on the image in a way that makes it look like an observed site condition.
Distinguish observed features from proposed changes through clear labels. For example, an outline showing a future cabinet should say that it is proposed. The reader should be able to tell which marks describe the photograph and which illustrate a design idea being considered.
Create a photo index with a task column
The index should tell the reviewer why each image is included. The following table provides a structure for a hypothetical survey package; actual filenames and measurement references belong in the project version.
See the decision table below for the working record.
Add a caption in plain language rather than relying on the filename alone. A short note such as “view towards entrance; proposed wall run on right” can prevent a remote reviewer from reversing the orientation. Keep the caption factual and linked to the actual image.
Select useful image quality
Check that important details are legible before leaving the site. A blurred reading or a photograph dominated by glare may require another visit if nobody notices it promptly. Review a few representative images at a useful size rather than assuming that a camera preview proves the whole package is usable.
Provide originals or suitable full-resolution copies through an agreed file-sharing method when detailed review requires them. Messaging previews may be convenient for discussion but can make small labels difficult to inspect. The recipient should know where the authoritative image set is stored.
Avoid unnecessary enhancement that changes the evidence. Brightness adjustments may help visibility, but the team should retain the original and avoid edits that remove obstacles, alter colours used for reference or otherwise change the apparent site condition. A survey image has a different purpose from a marketing photograph.
Compare a photo dump with an indexed package
An unindexed folder may seem faster to send, but it transfers the work of identifying locations to the recipient. The designer may spend time asking which opening is shown or whether two views belong to the same wall. Some ambiguities may remain unnoticed and become assumptions in the layout.
An indexed package takes more preparation but makes those relationships explicit. The designer can review the measurement register and open the corresponding images directly. The buyer also has a clearer basis for responding when additional information is requested.
The index does not need a complicated platform. A simple spreadsheet or document can work if its references remain stable and the files are accessible. The value comes from the relationship between image, location and question, not from the sophistication of the software used to display it.
Work through a confusing opening photograph
Imagine a hypothetical toy retailer sending photographs of two similar doorways to an overseas fixture supplier. One leads into the shop, while the other is part of the delivery route. The images are close-ups with camera-generated filenames, and the measurement notes refer only to “door width.”
The supplier cannot determine which measurement belongs to the store entrance. The buyer creates O1 and O2 identifiers, marks them on the plan and adds orientation images. Each recorded dimension is then linked to the correct opening and to photographs showing the relevant boundaries.
During the review, the team notices that one value describes a different door condition from the one expected during delivery. The photo index makes the discrepancy visible, and the responsible site participant is asked to confirm the intended condition. The team does not select the larger value simply because it makes the cabinet route look easier.
The corrected package now supports separate decisions about the store layout and delivery access. This illustrative example shows how organisation improves interpretation; it does not claim that photographs alone establish usable clearances or certify a delivery route.
Keep revisions understandable
When new images are added, record whether they supplement or replace an earlier view. If the site has changed, describe the change rather than presenting the new photograph as an unexplained alternative. The fixture designer needs to know which visible condition is current.
Before sending the final package for custom toy store fixture planning, check the links between photographs, dimensions and plan identifiers. Include the unresolved-image requests in the handover. A coherent photo record lets the supplier ask better questions while keeping measured facts separate from visual interpretation.
Compare one controlled basis.
How we apply this decision.
When new images are added, record whether they supplement or replace an earlier view. If the site has changed, describe the change rather than presenting the new photograph as an unexplained alternative. The fixture designer needs to know which visible condition is current.
Review BENSON capabilities →What still needs project confirmation.
Use the actual site, merchandise and supplier information to confirm the project-specific arrangement. Illustrative examples do not establish technical suitability.
Prepare the required inputs →Avoid these shortcuts.
- Treating a reference image as an approved production specification.
- Comparing suppliers without identical dimensions, quantities and delivery scope.
- Separating material, lighting or hardware decisions from the drawing revision.
- Leaving packing, local installation and site interfaces undefined.
Before the next approval.
- Begin with a plan-based photo map
- Capture context before detail
- Show the dimension endpoints
- Record each open point, owner, due date and required evidence.
Trace the supporting information.
Content review policyUpdated 2026-09-08. AI-assisted buyer guidance; no independent technical review is claimed.
Move from research to a project decision.
Keep building the specification.

Defining the Merchandise Mix Before Designing a Toy Store
A toy store fixture plan should begin with the merchandise the store will actually sell, demonstrate and keep in reserve. A list of product categories is useful, but it does not tell a designer how much space a box occupies, whether a figure needs staff assistance, or how often a shelf will be replenished.
Read next →
Writing a Store Design Brief for a Designer Toy Brand
A store design brief should explain what the business needs its space to do, which conditions the design must respect, and who will decide whether a proposal meets those needs. For a designer toy brand, that means more than supplying a logo and a collection of attractive shop photographs.
Read next →
Deciding Which Fixtures to Customize and Which to Standardize
The best fixture programme is rarely the one in which every component is custom, or the one assembled entirely from standard products. A useful choice starts with the job each part must perform.
Read next →Get a project-specific recommendation.
Send your store plan, product sizes, fixture quantities, destination and opening target. BENSON will identify the product fit, engineering inputs and quotation basis.
Start Your Display Project