Designing the Entrance Transition in a Designer Toy Store
The entrance transition should help a shopper understand where they have arrived, what the store offers and how to begin browsing.
- Published
- 2026-09-08
- Updated
- 2026-09-08
- Reading time
- 8 minutes
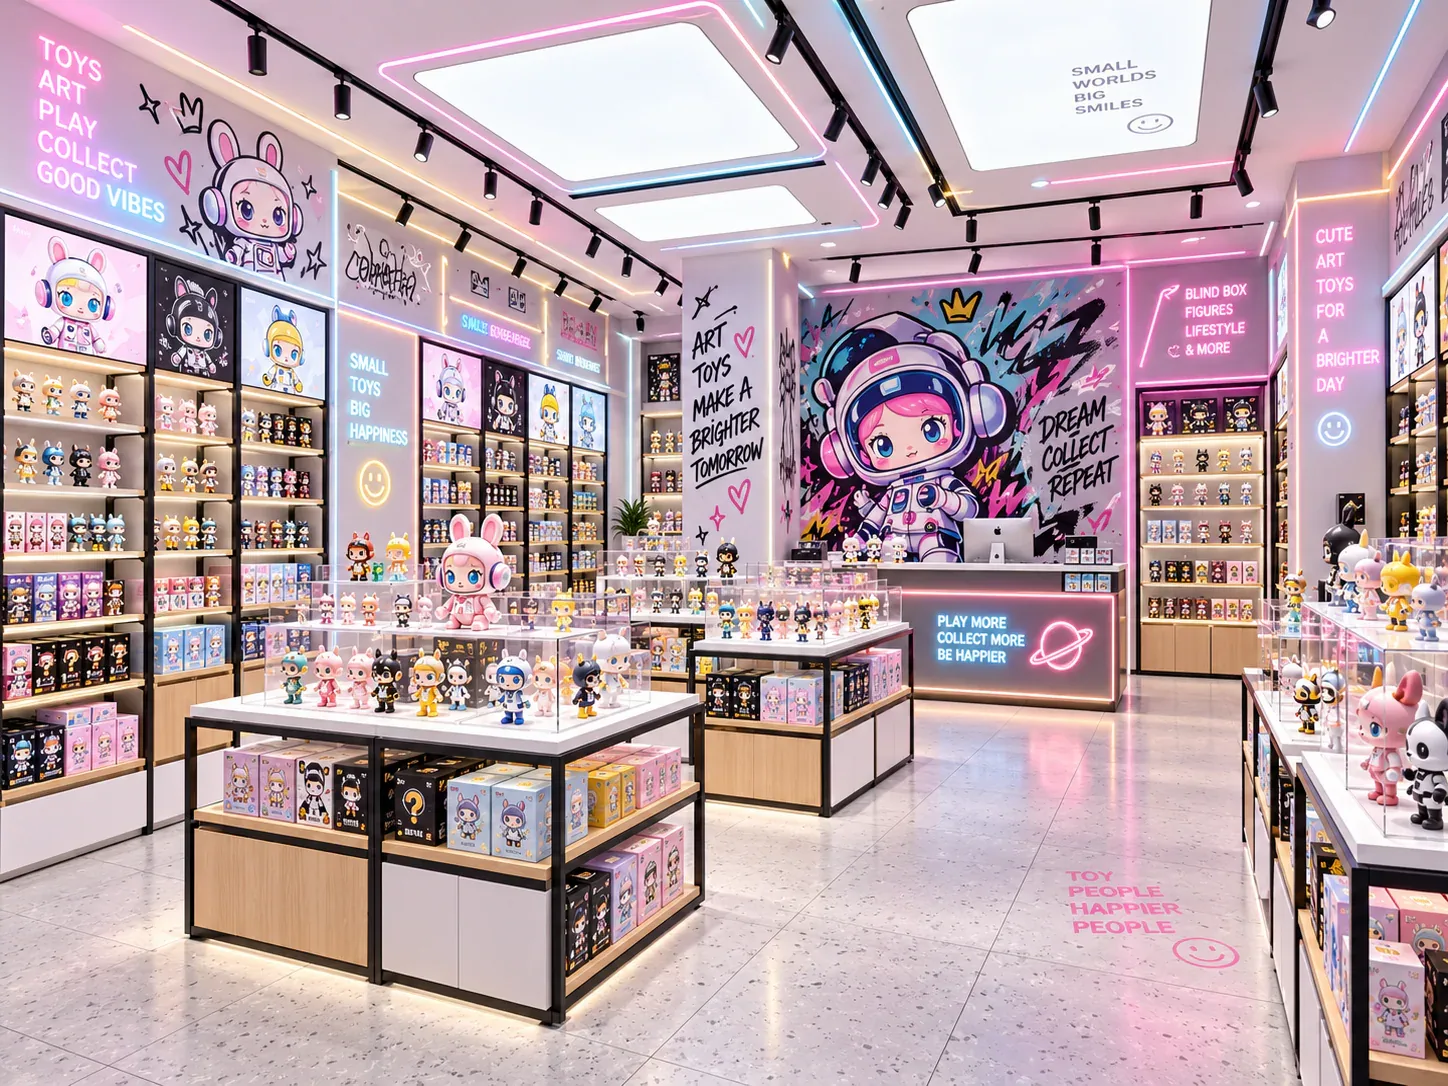
The entrance transition should help a shopper understand where they have arrived, what the store offers and how to begin browsing. In a designer toy shop, this can be difficult when launch graphics, small products, queue activity and a prominent display all compete near the doorway.
Three decisions to carry into your project.
- 01
Define what the shopper needs to understand
- 02
Observe the approach as well as the doorway
- 03
Separate passing, stopping and choosing
Start with the decision
The entrance transition should help a shopper understand where they have arrived, what the store offers and how to begin browsing. In a designer toy shop, this can be difficult when launch graphics, small products, queue activity and a prominent display all compete near the doorway. Plan the entrance as an operating sequence rather than treating the first available floor area as extra shelf capacity.
Create an entrance-task map showing the approach, threshold, first stopping point and onward browsing choices. Test it with the actual merchandise and proposed fixture outlines. The map is a design-review tool, not a formula for guaranteed sales or a substitute for the local access, egress and building requirements that the responsible project team must confirm.
Define what the shopper needs to understand
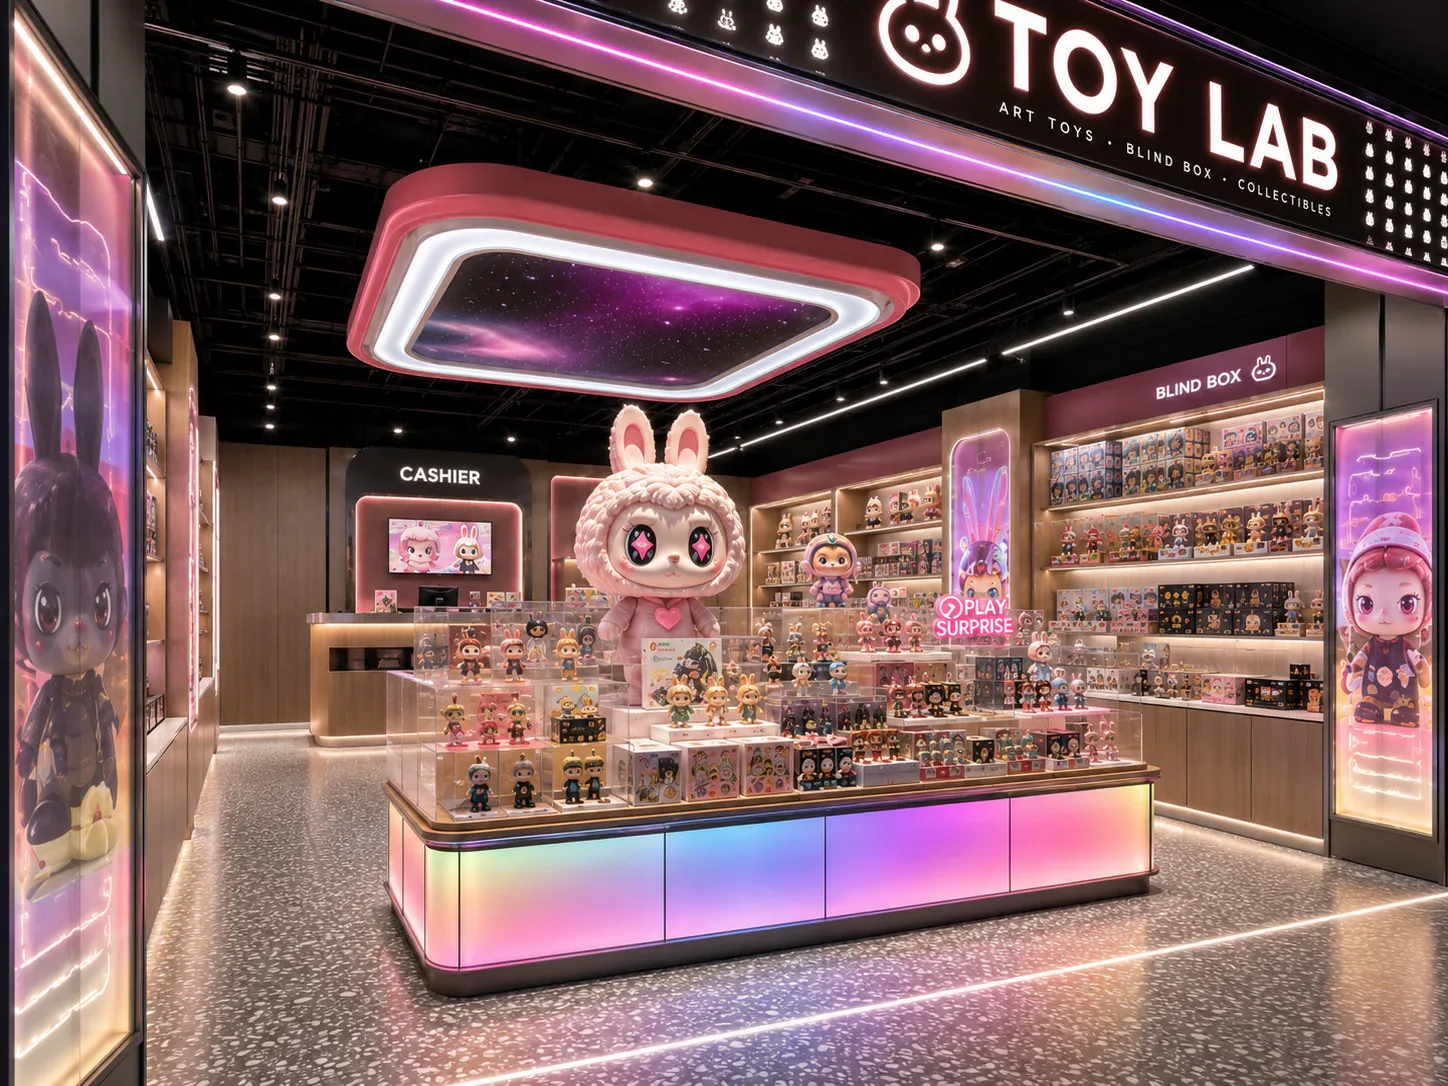
Start with the store's intended offer. A visitor approaching a collectible gallery may need a different introduction from someone entering a shop focused on quick blind-box purchases. Identify the information that helps the visitor recognise the store and choose a first action without asking every product category to explain itself at the doorway.
Separate recognition from detailed evaluation. The entrance can communicate the brand and a clear product direction, while closer browsing areas provide series information, prices and selection details. Trying to place every message at the threshold can make the first view difficult to interpret, especially when the products themselves are visually small.
Write the desired first actions in plain language. Examples include noticing the featured series, seeing the main browsing route or locating staff assistance. These are design intentions to test, not claims about how every shopper will behave. The actual arrangement should be reviewed with representative users and adjusted to the store's operating needs.
Observe the approach as well as the doorway
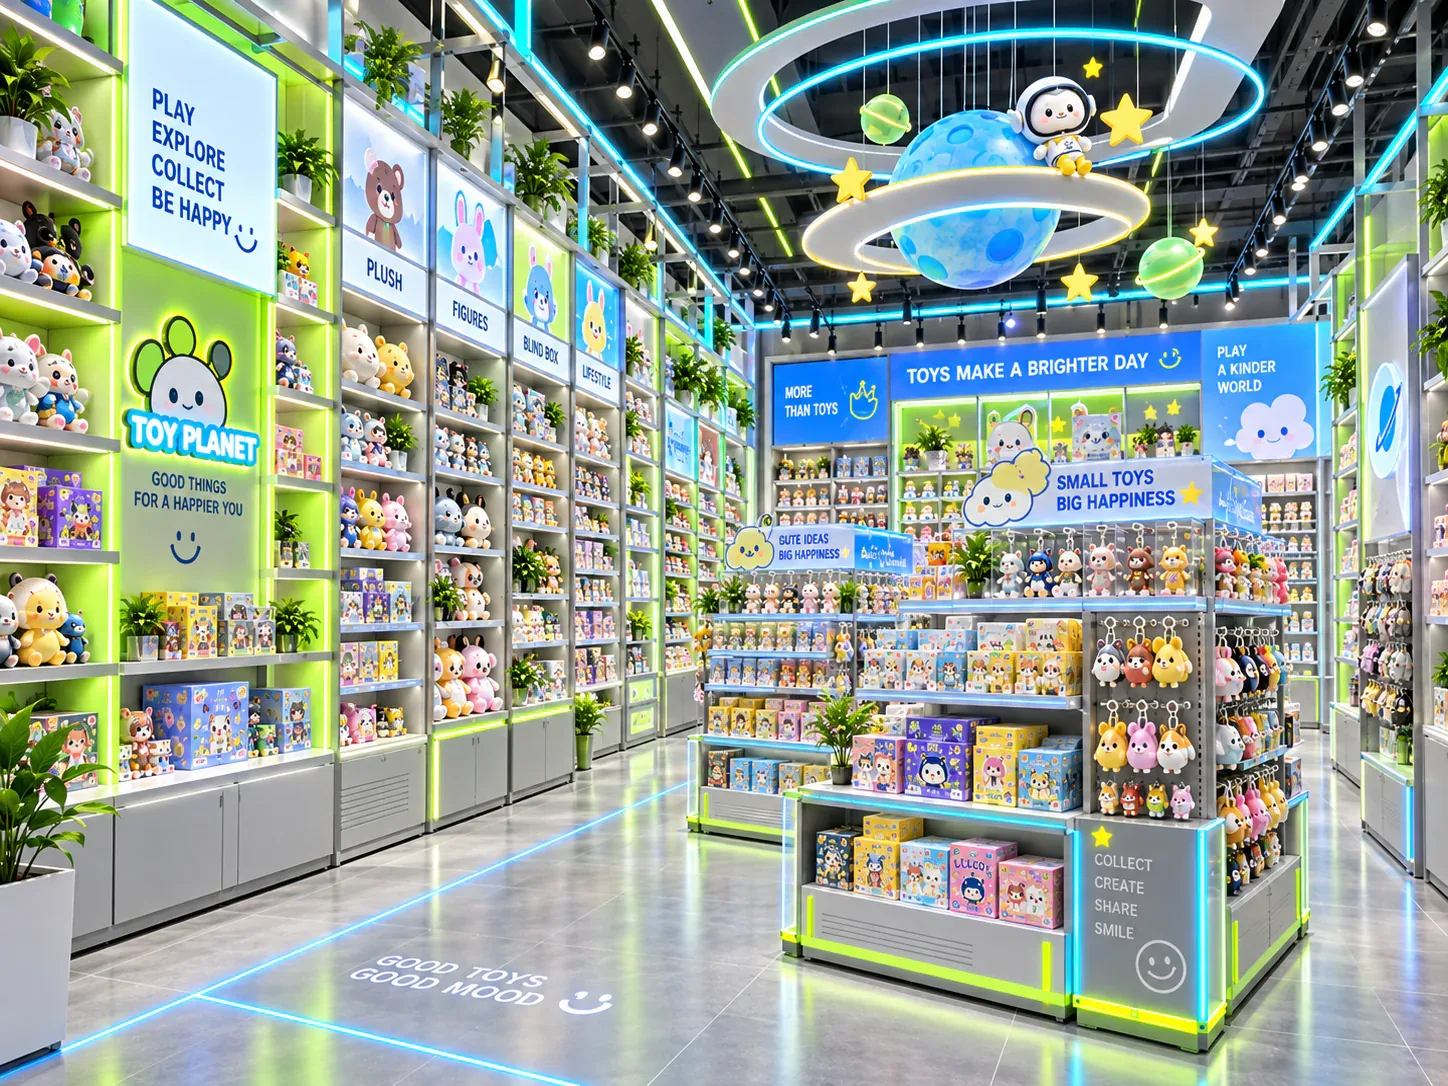
Consider where visitors see the shop from outside. The approach angle, surrounding mall frontage and visible store depth affect what the entrance composition communicates. Review views from the relevant directions instead of judging the design only from a centred rendering.
Identify features outside the buyer's control, such as the location of neighbouring entrances or permanent building elements. Record them as context rather than assuming they can be changed to suit the display. Where frontage or signage rules apply, obtain the actual requirements through the responsible project participants.
Use photographs or a site visit to connect the proposed entrance view to the real setting. A rendering can omit surrounding visual competition or show a viewing position that shoppers rarely use. The purpose of this review is to make the design intention understandable in its actual context.
Separate passing, stopping and choosing
The entrance may need to accommodate people entering, people pausing to look and people deciding where to go next. These activities can overlap, but they should not be assumed to occupy the same space without consequence. Mark the intended stopping positions as well as the fixture footprints on the plan.
If a featured display invites close inspection, identify where a person would stand to examine it and how another person would continue into the shop. Use representative scenarios to test the relationship. Do not treat the empty aisle shown in a drawing as proof that browsing and movement can happen comfortably together.
Include people leaving the store in the review. A visitor carrying a purchase or meeting a companion may use the entrance differently from someone arriving alone. The team should understand the intended operating pattern before deciding that an additional fixture belongs immediately beside the doorway.
Decide what the first display must do
An entrance display can introduce a launch, communicate the store's range or establish a visual theme. Choose its primary task. A unit intended for quick recognition may need a different arrangement from one designed for detailed selection among many similar boxes.
Define whether the display contains saleable stock, samples or both. If customers select products directly, consider how selection and replenishment happen in the entrance area. If it is a presentation-only display, provide a clear relationship to the place where the customer can obtain the product.
Keep the product scale visible during design review. Small figures may need a different visual hierarchy from large boxed editions. Test the actual or representative merchandise on a mock-up rather than relying on enlarged product images in a rendering to make the entrance composition appear more legible.
Limit competing messages deliberately
List every message proposed for the entrance: brand identity, new release, price, promotion, store rules, event information and directions. Assign each a purpose and decide where it belongs. This exposes situations where several teams have independently requested the same prominent location.
Rank messages by what the visitor needs at that point in the journey. Detailed product explanations may belong at the display, while operational information may be needed near a service point. The design should support a coherent sequence rather than forcing unrelated messages into one visual block.
Review the entrance in both normal and promotional states. Temporary signs can change the composition more than the permanent fixture itself. Identify permitted graphic positions in the operating brief so later campaign materials do not obscure the intended view or create unreviewed obstacles.
Build an entrance-task map
Use the following table to organise the review. The working version should refer to the actual plan and proposed merchandise rather than supplying generic fixture dimensions.
See the decision table below for the working record.
Add an observation and resulting action for each row. The map is most useful when it records what happened in a review, not just what the designer hoped would happen. If a question remains unresolved, identify the next test or decision needed.
Compare a feature-first entrance with a view-through entrance
A feature-first arrangement places a strong display emphasis near the initial view. It can suit a store that wants to introduce a specific release or visual identity, but it must be tested against stopping positions and the onward route. The fixture should earn its location through the task it performs.
A view-through arrangement gives greater emphasis to seeing into the shop and understanding the wider offer. It may distribute the first merchandising decisions farther inside. That does not mean the entrance has no identity; it means the composition relies more on sightlines, graphics or the relationship among several displays.
Compare both using the same merchandise, site context and operating scenarios. A dramatic rendering of one option and a bare floor plan of the other are not equivalent evidence. The buyer should see how each arrangement functions when people stop, move and replenish products.
Test a launch-heavy boutique entrance
Consider a hypothetical designer toy boutique that changes its featured series regularly. The initial plan places a densely stocked launch unit close to the entrance, with promotional graphics on several faces. The owner likes its visual impact but has not considered how shoppers will pause to compare boxes.
The team uses the entrance-task map to stage a simple review. Representative packages and temporary graphic panels show the intended display density. One person approaches, another pauses at the feature and a staff member demonstrates replenishment. The review focuses on the relationship between those activities, without treating the exercise as a prediction of sales.
The designer compares moving the feature farther into the store with simplifying its entrance-facing presentation. The first option changes the initial view and creates a different stopping point. The second retains the location but shifts detailed selection to an adjacent area. The owner assesses both against the store's launch and everyday operating needs.
The selected arrangement includes a defined position for temporary campaign information and a clear link to the rest of the range. This illustrative scenario shows a design process; it does not claim that a particular entrance treatment increases conversion or meets every access requirement.
Review the opening state and the everyday state
Check the entrance from outside while the shop is in each intended operating state. If doors, shutters or temporary barriers change position, identify how the visible composition changes with them. A feature that is clear in an open-front rendering may sit behind a frame or another element in the actual arrangement. Record which condition the design review represents and obtain the relevant site information for the others. This gives the fixture supplier a more precise entrance brief than a single photograph taken under unexplained conditions.
An entrance can look orderly during a presentation and behave differently after stock, signs and customer activity are added. Review the complete operating state before ordering the fixtures. Include the intended products, graphic holders and any associated service or queue activity.
After opening, observe where visitors actually pause and which questions they ask. Use those observations to refine merchandising within the agreed fixture arrangement. Avoid drawing strong conclusions from one quiet moment or an exceptional launch event; record the context of the observation.
For designer toy store planning, the entrance-task map provides a focused brief for the first part of the customer journey. It helps the buyer explain what the entrance must accomplish before choosing the fixture that will occupy it.
Compare one controlled basis.
How we apply this decision.
Check the entrance from outside while the shop is in each intended operating state. If doors, shutters or temporary barriers change position, identify how the visible composition changes with them. A feature that is clear in an open-front rendering may sit behind a frame or another element in the actual arrangement. Record which condition the design review represents and obtain the relevant site information for the others. This gives the fixture supplier a more precise entrance brief than a single photograph taken under unexplained conditions.
Review BENSON capabilities →What still needs project confirmation.
Use the actual site, merchandise and supplier information to confirm the project-specific arrangement. Illustrative examples do not establish technical suitability.
Prepare the required inputs →Avoid these shortcuts.
- Treating a reference image as an approved production specification.
- Comparing suppliers without identical dimensions, quantities and delivery scope.
- Separating material, lighting or hardware decisions from the drawing revision.
- Leaving packing, local installation and site interfaces undefined.
Before the next approval.
- Define what the shopper needs to understand
- Observe the approach as well as the doorway
- Separate passing, stopping and choosing
- Record each open point, owner, due date and required evidence.
Trace the supporting information.
Content review policyUpdated 2026-09-08. AI-assisted buyer guidance; no independent technical review is claimed.
Move from research to a project decision.
Keep building the specification.
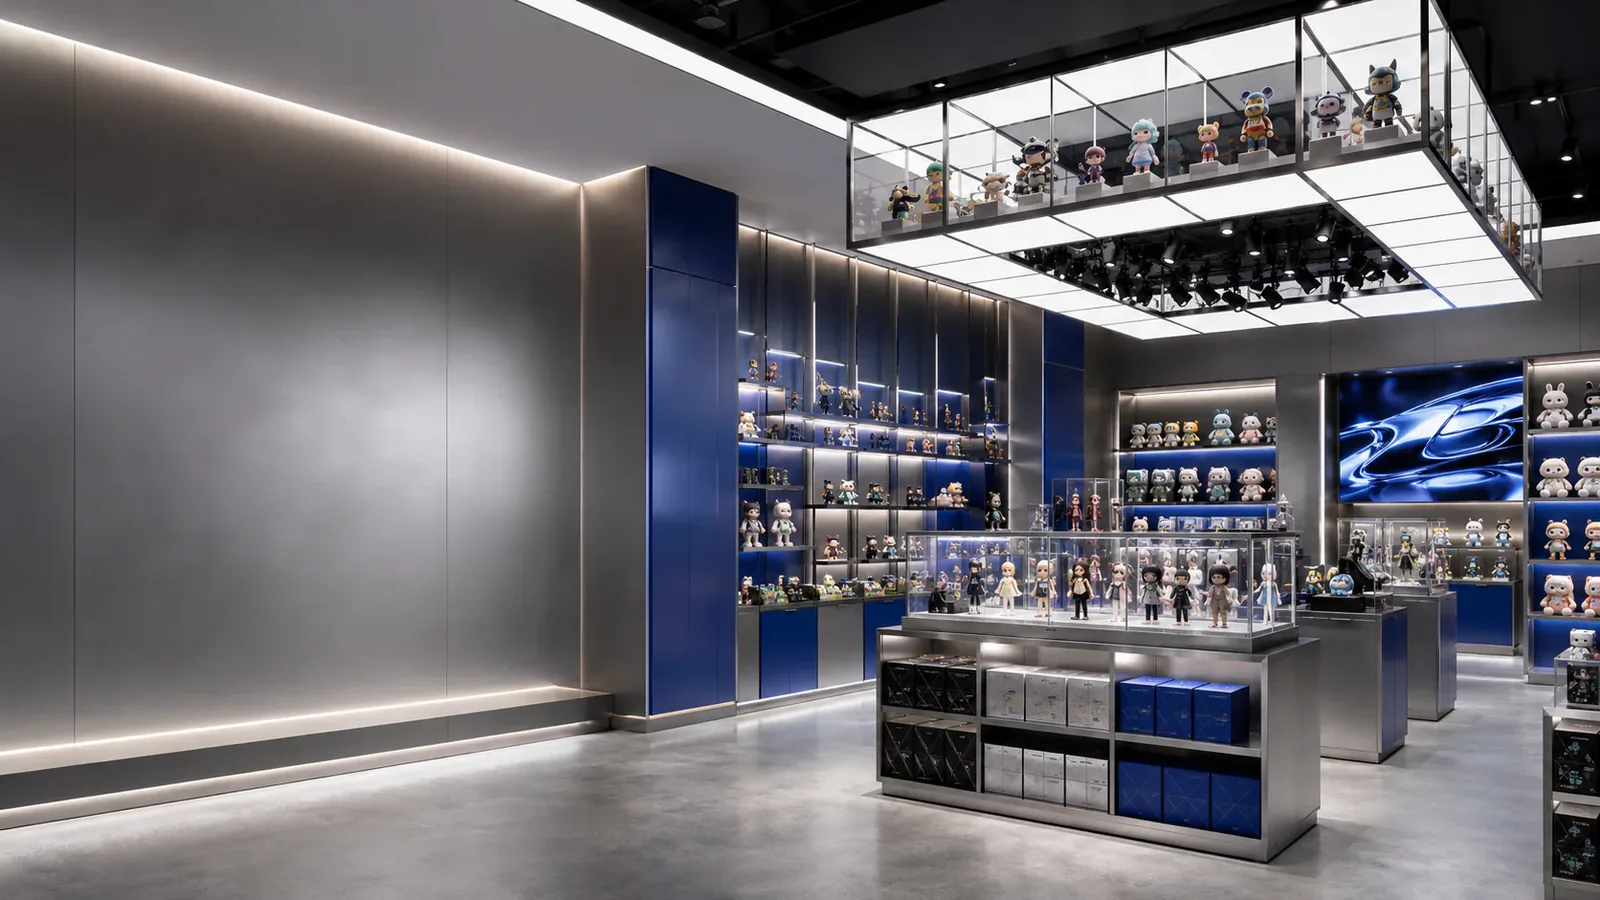
Defining the Merchandise Mix Before Designing a Toy Store
A toy store fixture plan should begin with the merchandise the store will actually sell, demonstrate and keep in reserve. A list of product categories is useful, but it does not tell a designer how much space a box occupies, whether a figure needs staff assistance, or how often a shelf will be replenished.
Read next →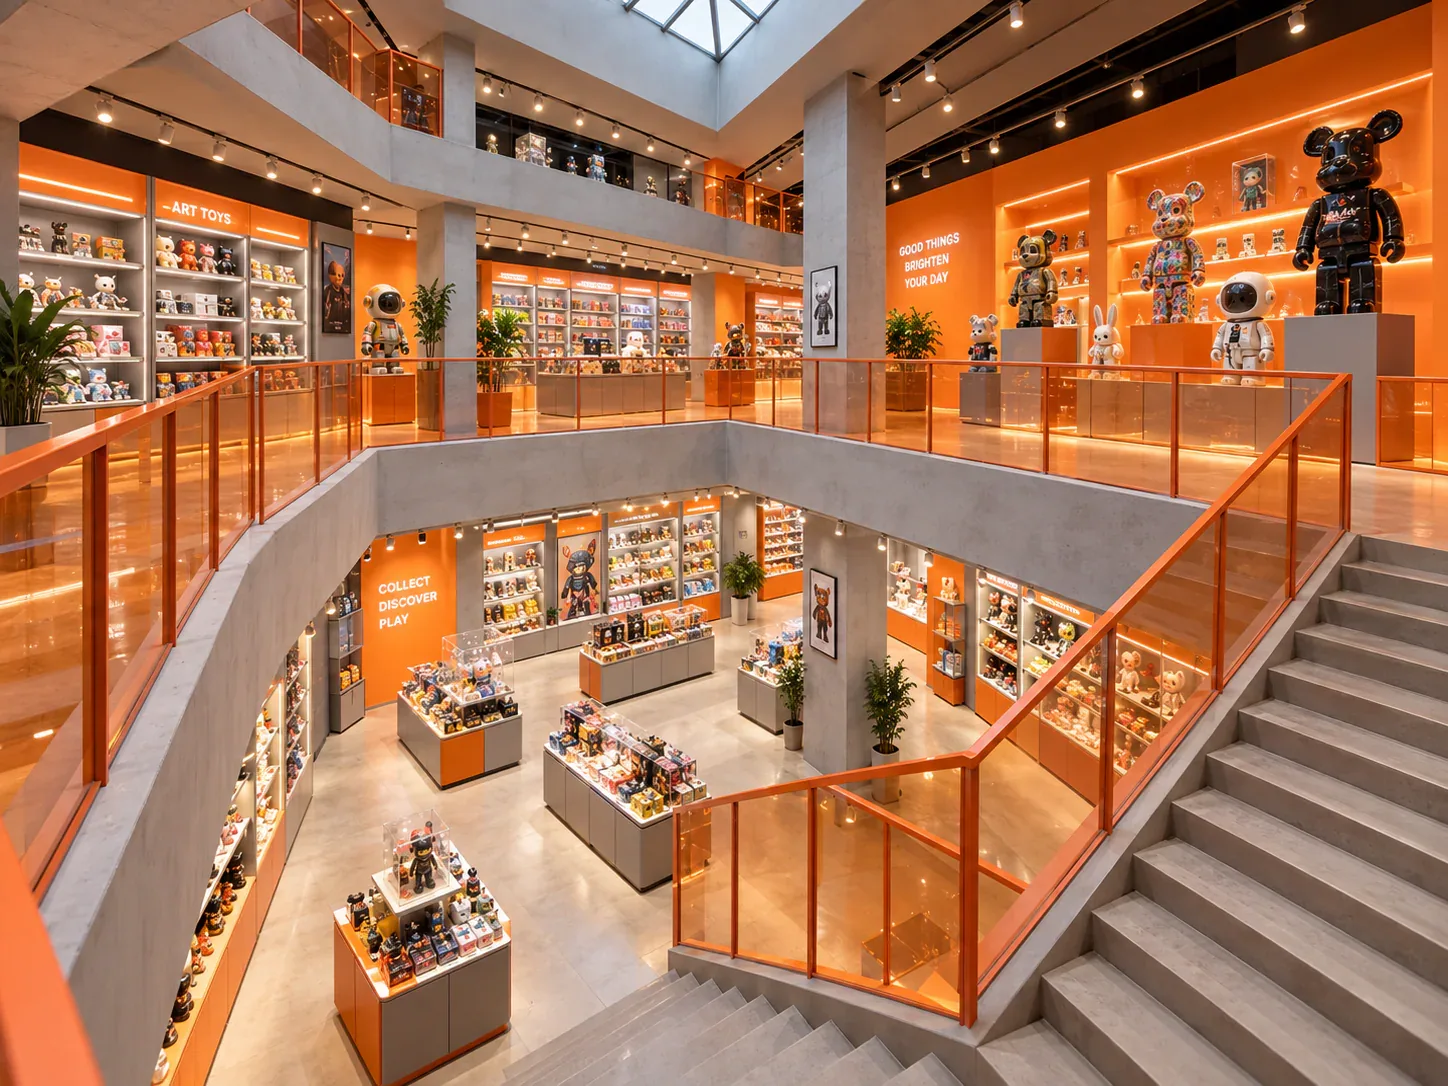
Writing a Store Design Brief for a Designer Toy Brand
A store design brief should explain what the business needs its space to do, which conditions the design must respect, and who will decide whether a proposal meets those needs. For a designer toy brand, that means more than supplying a logo and a collection of attractive shop photographs.
Read next →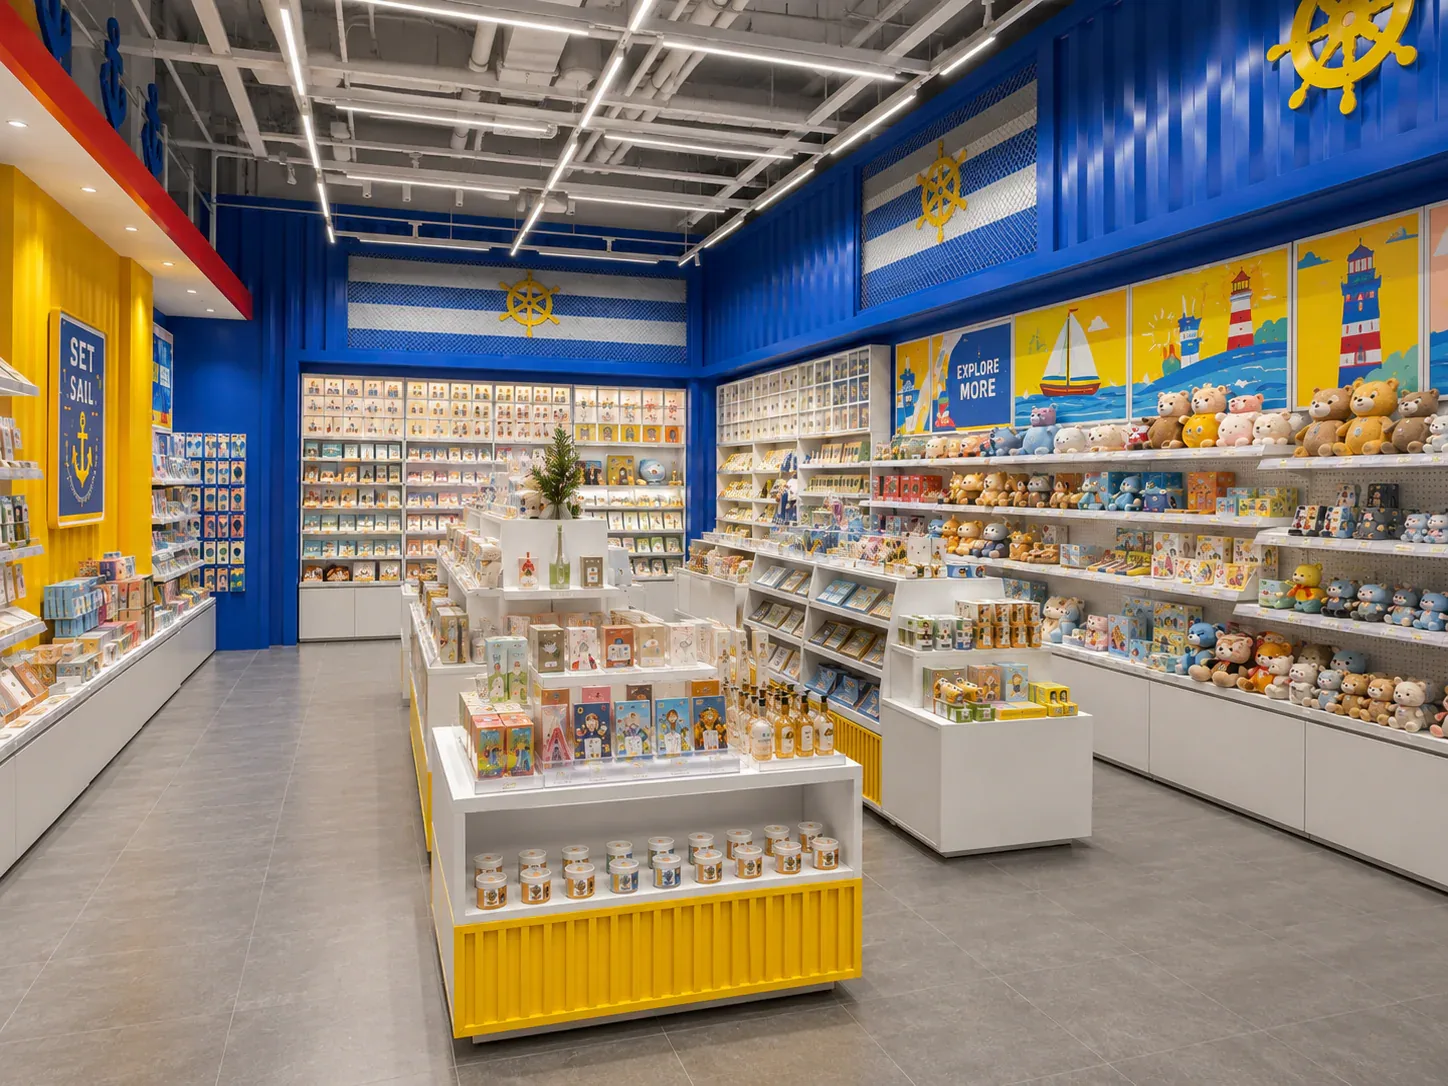
Deciding Which Fixtures to Customize and Which to Standardize
The best fixture programme is rarely the one in which every component is custom, or the one assembled entirely from standard products. A useful choice starts with the job each part must perform.
Read next →Get a project-specific recommendation.
Send your store plan, product sizes, fixture quantities, destination and opening target. BENSON will identify the product fit, engineering inputs and quotation basis.
Start Your Display Project