Adapting a Fixture Layout to a Narrow Retail Unit
A narrow retail unit needs a layout that makes its length useful without treating the remaining space between fixtures as an afterthought.
- Published
- 2026-09-08
- Updated
- 2026-09-08
- Reading time
- 8 minutes
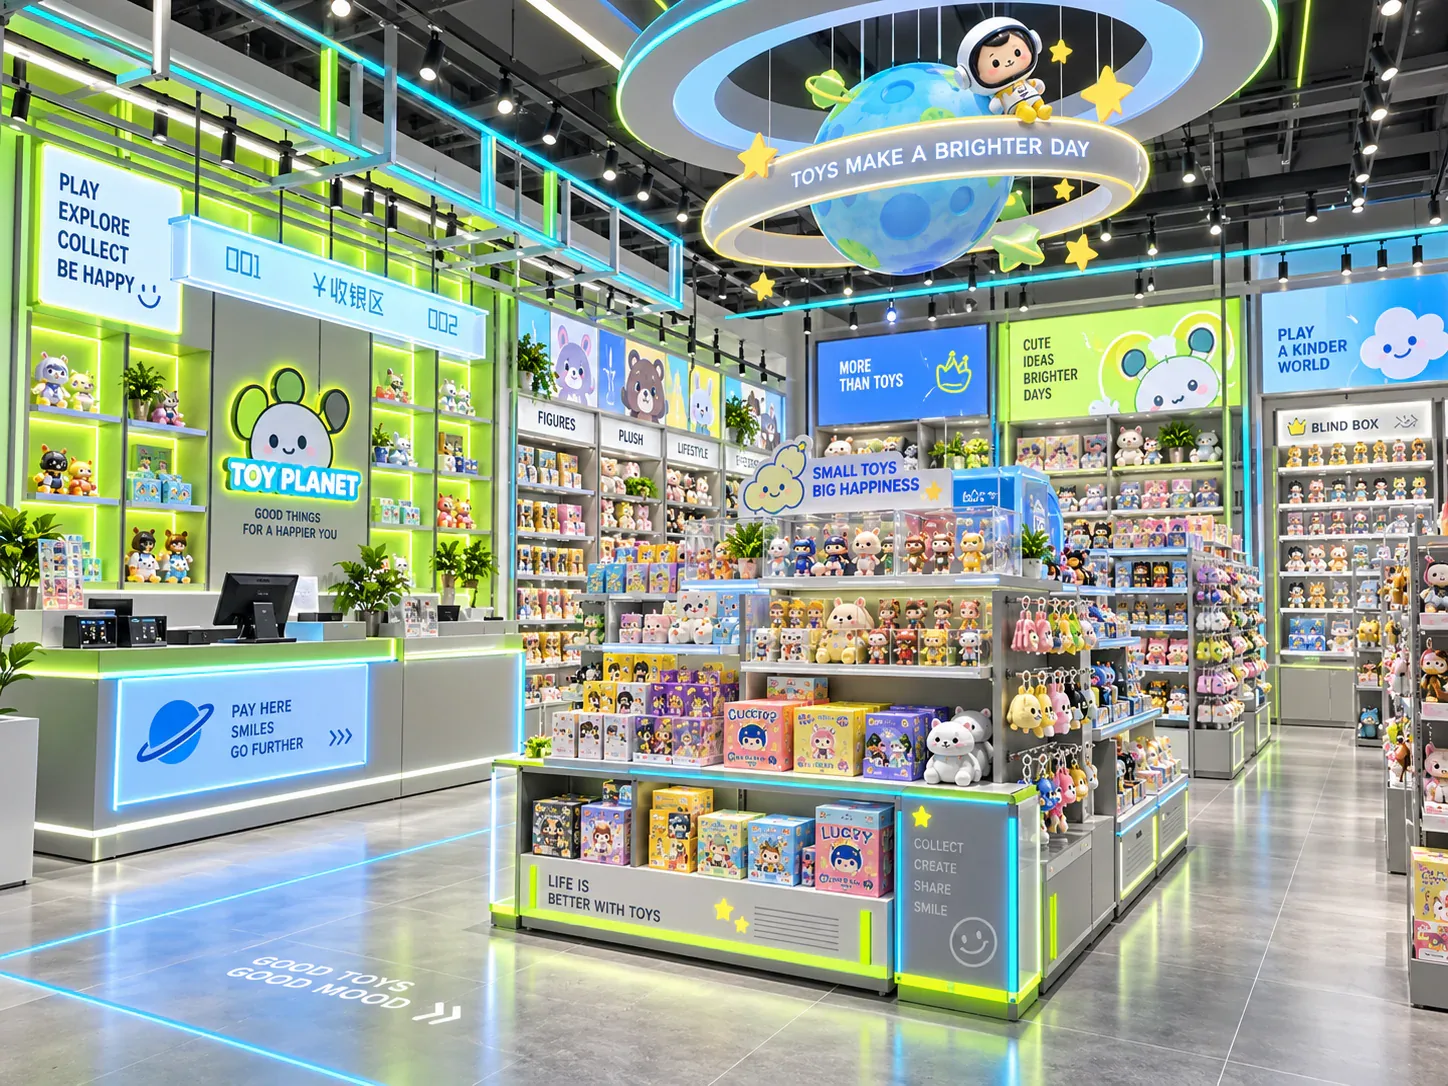
A narrow retail unit needs a layout that makes its length useful without treating the remaining space between fixtures as an afterthought. The buyer must consider how products are presented, where customers pause, how staff move stock and how the store's destinations become understandable.
Three decisions to carry into your project.
- 01
Describe the usable shape accurately
- 02
Allocate tasks along the length
- 03
Review opposing display faces
Start with the decision
A narrow retail unit needs a layout that makes its length useful without treating the remaining space between fixtures as an afterthought. The buyer must consider how products are presented, where customers pause, how staff move stock and how the store's destinations become understandable. A narrow shape does not automatically require one universal fixture arrangement.
Compare candidate layouts using a cross-section and a sequence of operating zones along the unit. Show the actual fixture envelopes and the activities they support. This guide provides a method for evaluating the trade-offs; it does not prescribe minimum circulation widths, occupancy or a code-compliant plan. Those requirements belong with the responsible local project team.
Describe the usable shape accurately
Start with the verified site information, including wall changes, columns, openings and relevant floor or ceiling conditions. A simple long rectangle may conceal local restrictions that affect one part of the layout. The fixture designer needs to know where the usable shape changes along the unit.
Distinguish the storefront width from the width available farther inside. A wider entrance area does not necessarily describe the central or rear zone. Likewise, a recess can create useful local space without increasing the width of the whole shop.
Keep proposed site work separate from existing dimensions. If a lining or enclosure will change the usable space, identify the intended finished condition and its confirmation status. Do not resolve a narrow-layout problem by silently assuming a wall or service feature can be removed.
Allocate tasks along the length
List the main customer and staff tasks, then identify where each might occur. A visitor may first recognise the assortment, then inspect a collection, request assistance and complete a purchase. Staff may need a route between reserve stock and several display zones.
Use the length of the unit to organise these relationships deliberately. That does not mean every shopper must follow a forced sequence. The plan should show both browsing opportunities and direct access to important destinations where the operating brief requires it.
Identify tasks that create longer pauses. Detailed figure comparison, assisted selection or a service interaction may need a different relationship to movement than quick recognition of a product group. Placing all those tasks opposite one another can create an operating conflict even when the fixture footprints appear to fit.
Review opposing display faces
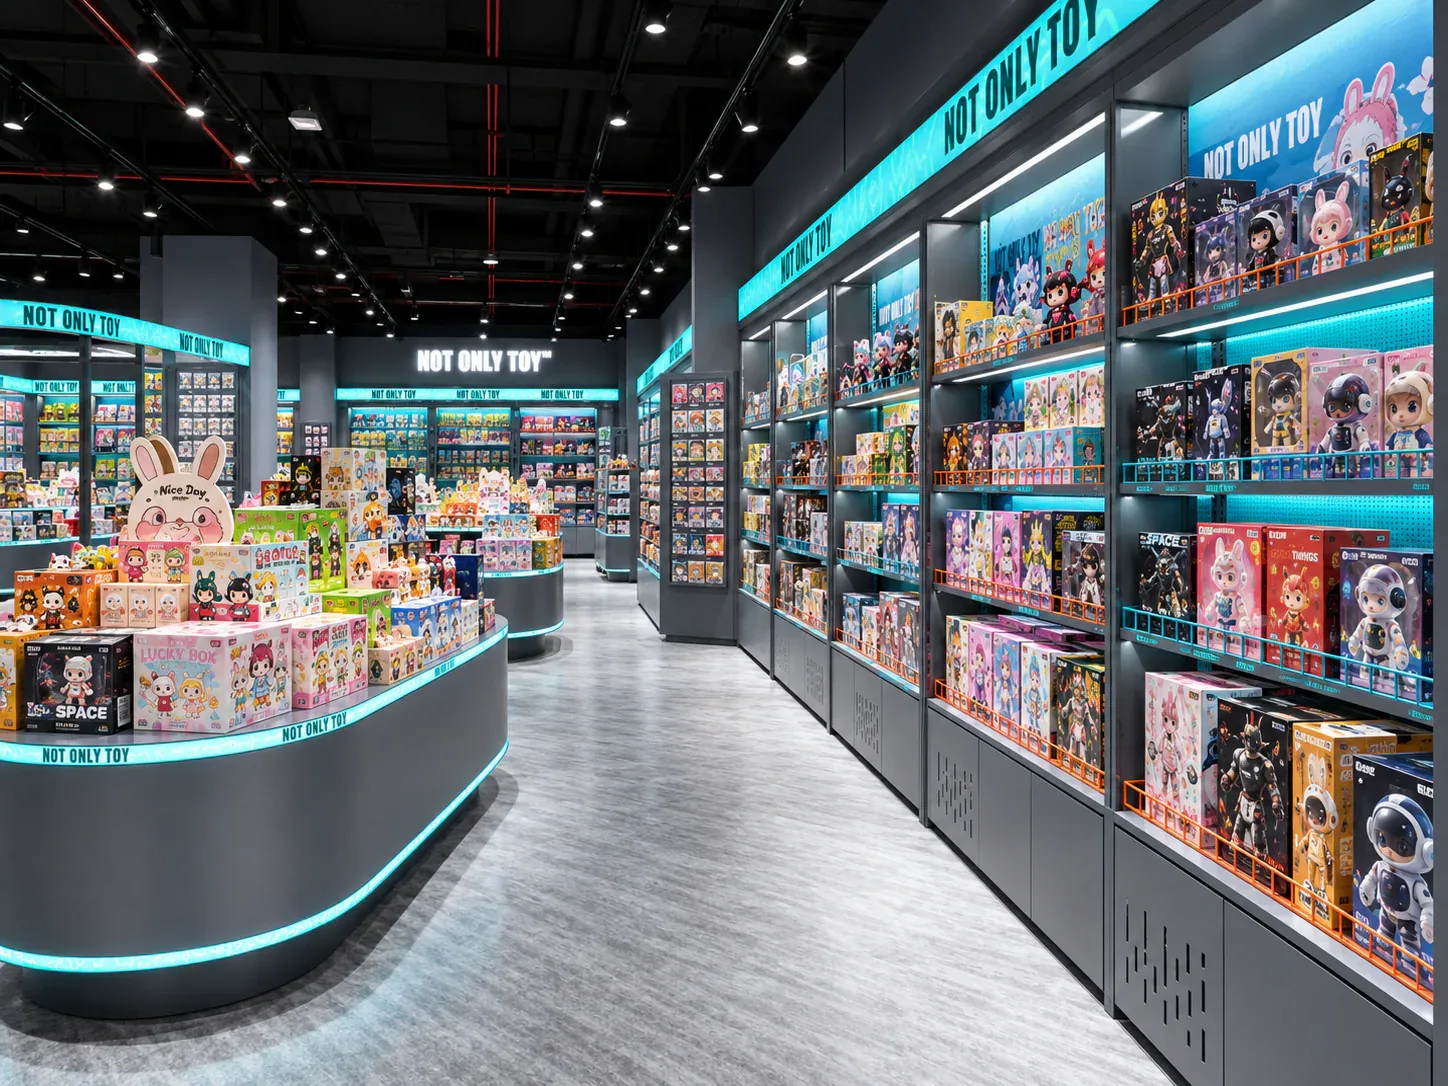
When fixtures line both sides, show how customers use the opposing faces. The space between them may accommodate browsing on either side as well as through movement. Review representative simultaneous activities rather than assuming everyone uses one wall at a time.
Consider the actual merchandise and access method. An enclosed cabinet opened by staff creates a different operating condition from a shallow presentation viewed without opening anything. The fixture drawings should show relevant moving parts and service access for the actual proposed units.
Do not select a deeper fixture simply because it holds more stock in isolation. Compare what that depth contributes to the merchandise task and what it changes elsewhere in the layout. Additional capacity can be valuable, but the buyer needs to understand the complete operating trade-off.
Use one-sided and staggered arrangements as options
One option may concentrate certain display tasks on one side and give the opposite side another role. Another may stagger pausing areas rather than placing them directly opposite. These are concepts to test against the actual brief, not universal solutions for every narrow shop.
A staggered arrangement can change the rhythm of the store and the relationship among categories. The designer should explain where customers are expected to stop and how the next destination remains clear. Avoid introducing offsets solely as decoration if they make the merchandise organisation harder to understand.
A one-sided emphasis may reduce some interactions while limiting the presentation available on the other side. Compare assortment coverage and stock roles explicitly. The buyer should see whether an apparently simpler plan depends on showing fewer products or using a different replenishment model.
Check the unit in cross-section
A plan alone does not show the visual relationship between tall displays, merchandise and the space above them. Use relevant cross-sections or three-dimensional views to review the proposed arrangement. Keep the model consistent with the actual fixture and product dimensions.
Consider how signs and display envelopes affect the view along the shop. A narrow unit can become difficult to read if several projecting elements compete across the route. The design response may involve changing information placement or product presentation rather than changing every cabinet.
Review the intended viewing positions, including the users relevant to the store's accessibility brief. A single elevated rendering can make the layout appear more legible than it is from ordinary browsing positions. Record what the review actually demonstrates and what requires further assessment.
Keep staff routes part of the comparison
Trace replenishment from its stock source to each display area. If staff repeatedly pass through a customer pause zone, identify that interaction and test the proposed operating sequence. Do not assume the store can avoid it simply by scheduling all replenishment outside trading hours unless that is the actual plan.
Show how staff assist a customer at an enclosed display or retrieve a boxed sale unit. The service relationship may require movement along much of the unit. The buyer should understand that sequence before choosing the location of the service point and reserve stock.
Include receiving and installation constraints separately. A layout can work for daily operation while its largest fixture cannot reach the intended position under the proposed delivery method. Coordinate the access route and package arrangement through the relevant participants rather than treating the floor plan as proof of deliverability.
Use a narrow-unit option sheet
Apply the same questions to each layout option. Add the actual observations, capacities and unresolved requirements in the working document.
See the decision table below for the working record.
Do not compress the result into a single capacity figure. A plan with fewer sale units on the floor may support a different service model, while a denser plan may depend on a more demanding operating sequence. The option sheet should make those differences visible.
Test a long boutique with mixed products
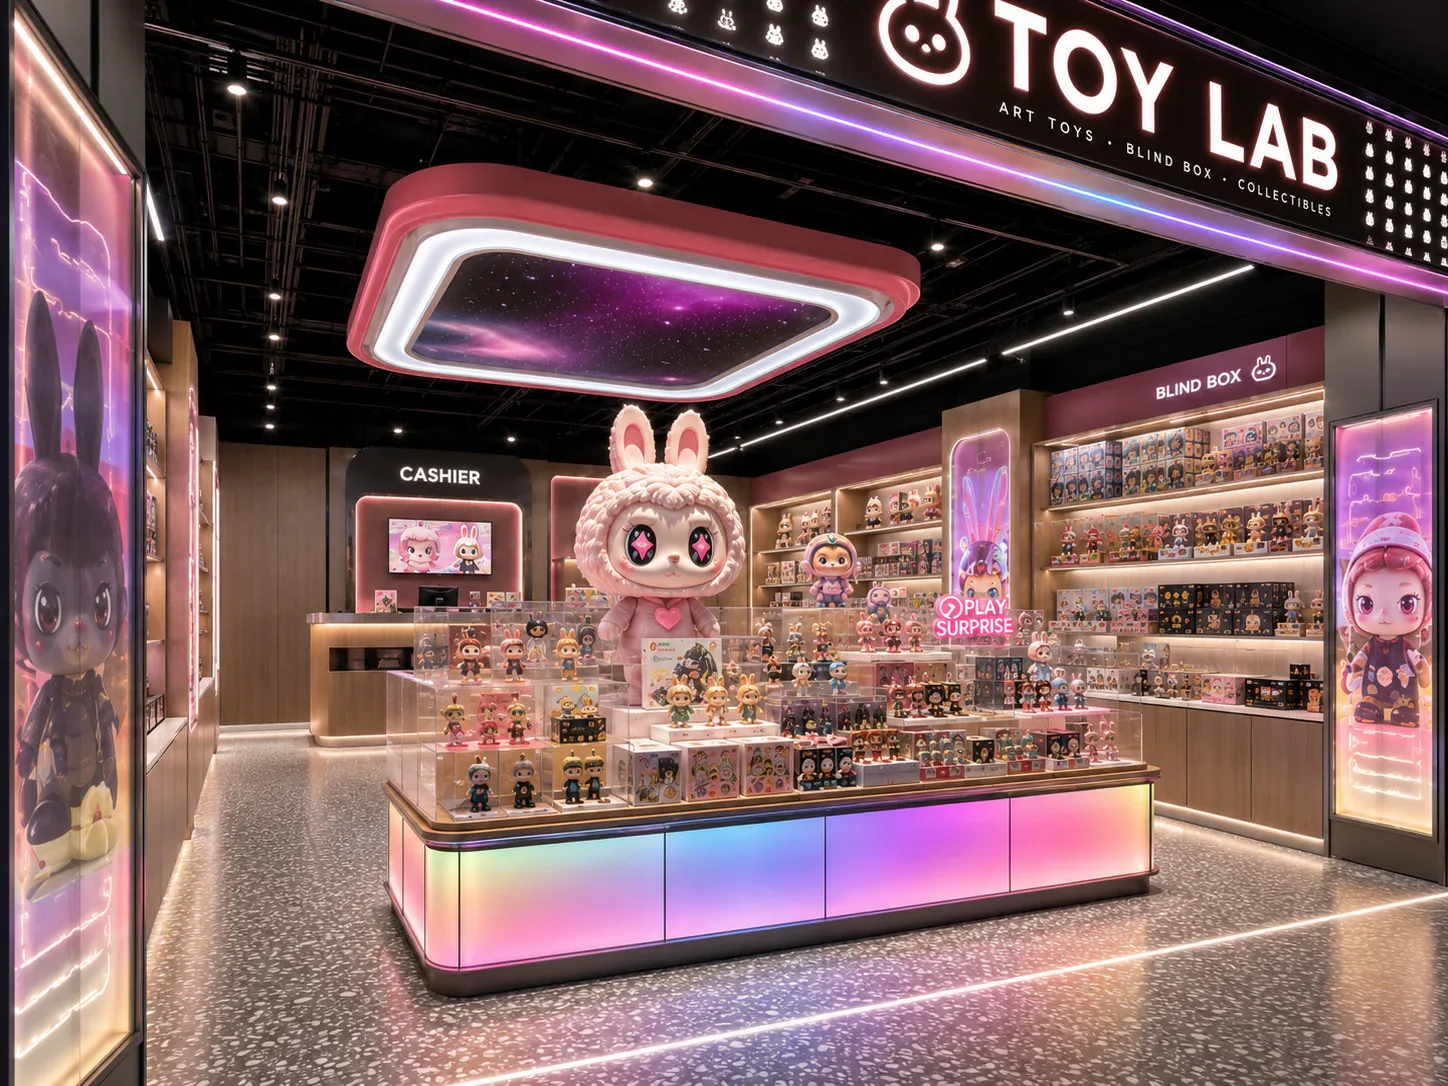
Consider a hypothetical narrow boutique selling sealed blind boxes and detailed collectible figures. The first proposal uses continuous fixtures on both sides. The owner likes the amount of merchandise shown but has not reviewed how customers inspect figures while other people browse the opposite wall.
The designer marks the longer inspection tasks and the direct-selection tasks separately. A second option staggers the detailed figure zones and changes the allocation of stock within the blind-box presentation. Both options use the same representative assortment, so the owner can see the actual capacity difference.
Staff demonstrate an assisted purchase and a replenishment trip on each plan. The team also reviews the view from the entrance towards the service point, including the intended graphics and merchandise heights. Any local access requirements remain subject to the appropriate professional confirmation.
The owner selects the arrangement that best supports the agreed tasks and records the merchandising conditions it depends on. This hypothetical example does not establish a universal fixture depth or aisle width. It illustrates how the narrow shape can be reviewed through actual activities instead of an empty-plan impression.
Define what future changes may require a new review
Review any transition between a wider front zone and a narrower rear section as a specific part of the plan. The arrangement may invite a broad approach at the entrance and then require a more defined choice farther inside. Show where that change occurs and which fixture or category information helps visitors understand it. Do not allow the apparent openness of the front area to stand in for a review of the more constrained section.
The same transition can affect replenishment and product handling. If staff bring merchandise from a rear support area, test the complete route through the change in width with the actual operating task. Identify whether temporary stock, a promotional sign or an open cabinet changes the reviewed condition. These observations help the owner set practical merchandising boundaries for the specific unit rather than applying one uniform rule along its full length.
Record the merchandise formats and fixture positions used in the accepted comparison. A later shift from small boxes to large presentation cases may alter both capacity and browsing activity. The operating team should know that the original layout decision relied on a particular assortment basis.
Likewise, a temporary promotional stand can change a narrow route more than its small footprint suggests. Include a clear process for reviewing additions against the existing task map. The purpose is to preserve a usable arrangement while allowing considered merchandising changes.
For custom toy store fixtures, share the option sheet and relevant cross-sections with the supplier. They explain why a particular depth, position or display face matters to the store, giving the design discussion a stronger basis than the instruction to fit in as many units as possible.
Compare one controlled basis.
How we apply this decision.
Review any transition between a wider front zone and a narrower rear section as a specific part of the plan. The arrangement may invite a broad approach at the entrance and then require a more defined choice farther inside. Show where that change occurs and which fixture or category information helps visitors understand it. Do not allow the apparent openness of the front area to stand in for a review of the more constrained section.
Review BENSON capabilities →What still needs project confirmation.
Use the actual site, merchandise and supplier information to confirm the project-specific arrangement. Illustrative examples do not establish technical suitability.
Prepare the required inputs →Avoid these shortcuts.
- Treating a reference image as an approved production specification.
- Comparing suppliers without identical dimensions, quantities and delivery scope.
- Separating material, lighting or hardware decisions from the drawing revision.
- Leaving packing, local installation and site interfaces undefined.
Before the next approval.
- Describe the usable shape accurately
- Allocate tasks along the length
- Review opposing display faces
- Record each open point, owner, due date and required evidence.
Trace the supporting information.
Content review policyUpdated 2026-09-08. AI-assisted buyer guidance; no independent technical review is claimed.
Move from research to a project decision.
Keep building the specification.
Defining the Merchandise Mix Before Designing a Toy Store
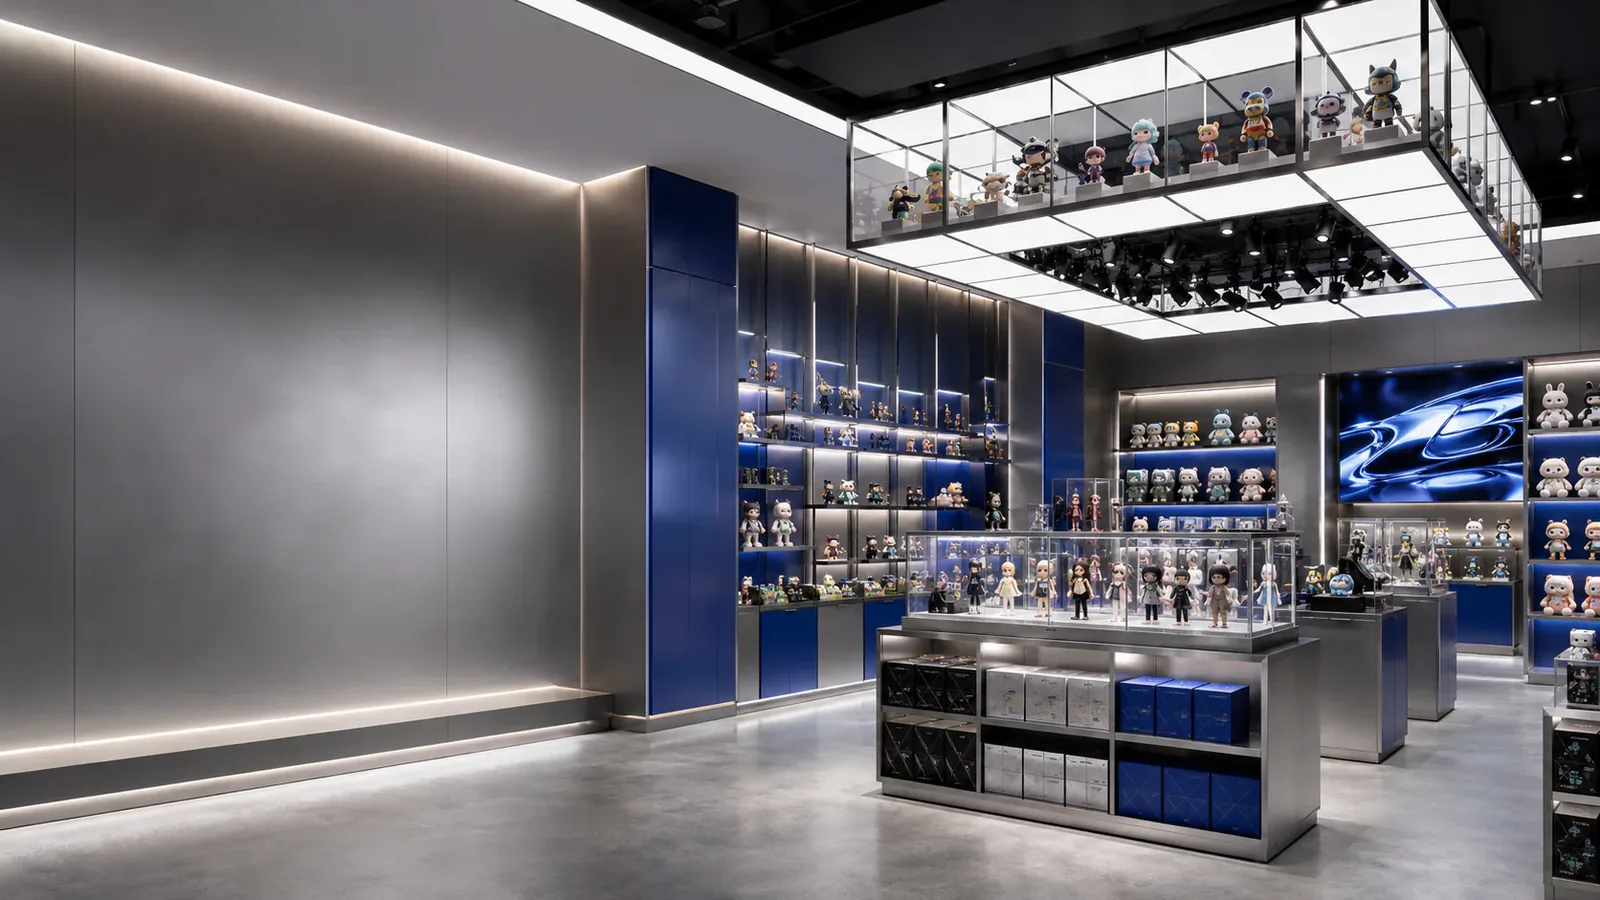
A toy store fixture plan should begin with the merchandise the store will actually sell, demonstrate and keep in reserve. A list of product categories is useful, but it does not tell a designer how much space a box occupies, whether a figure needs staff assistance, or how often a shelf will be replenished.
Read next →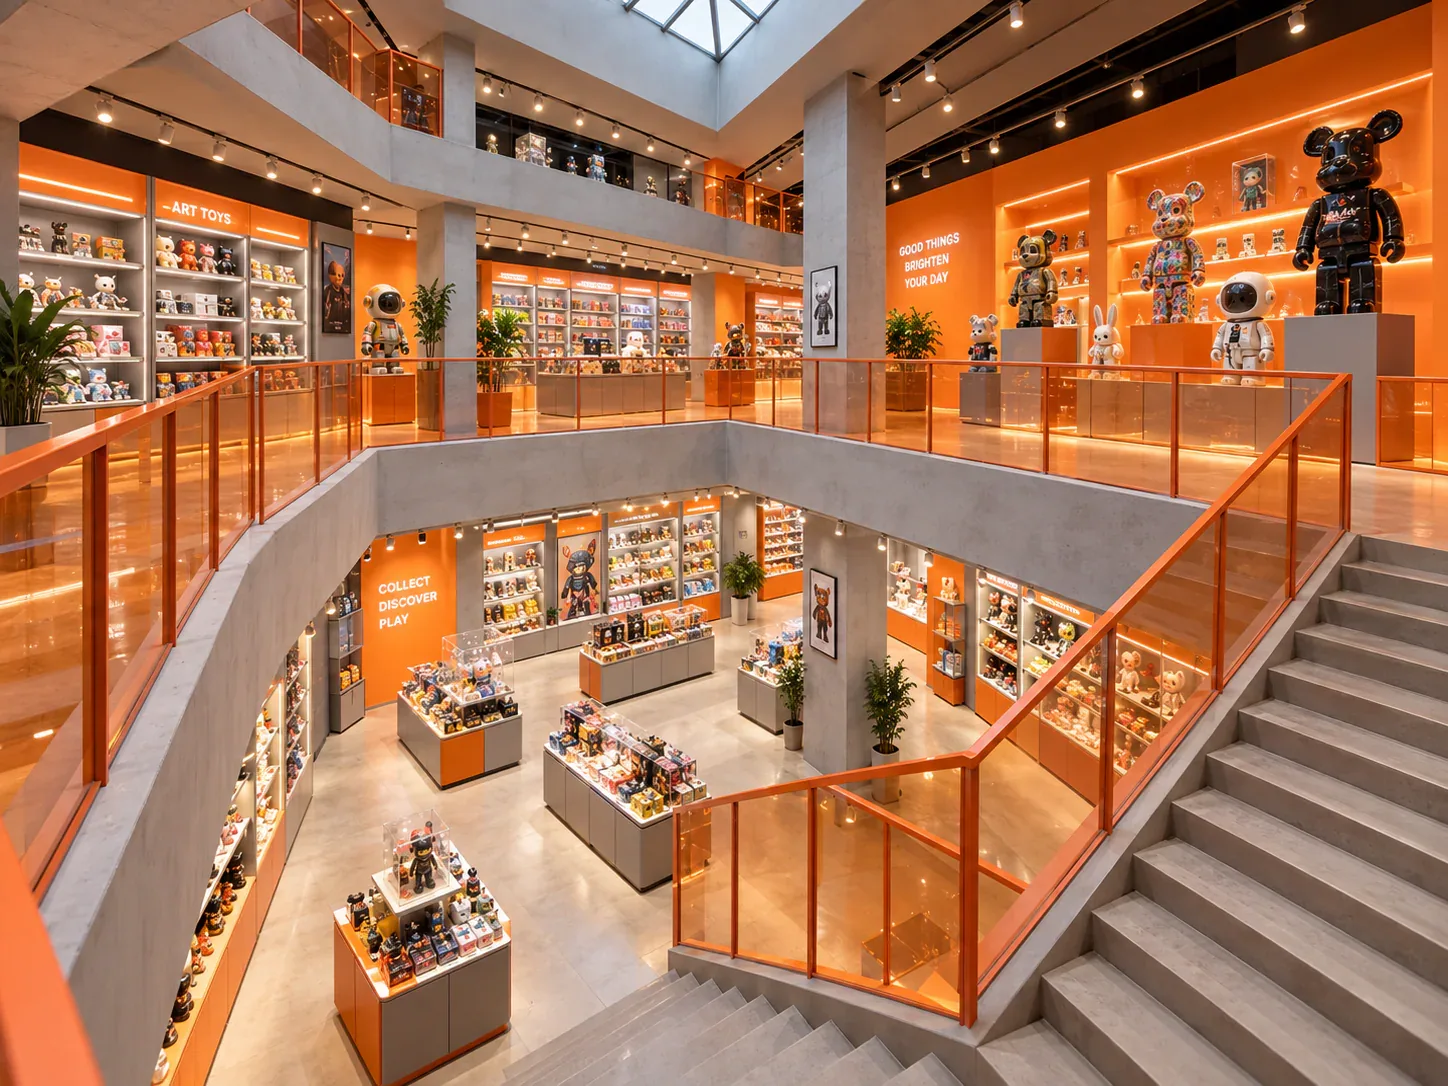
Writing a Store Design Brief for a Designer Toy Brand
A store design brief should explain what the business needs its space to do, which conditions the design must respect, and who will decide whether a proposal meets those needs. For a designer toy brand, that means more than supplying a logo and a collection of attractive shop photographs.
Read next →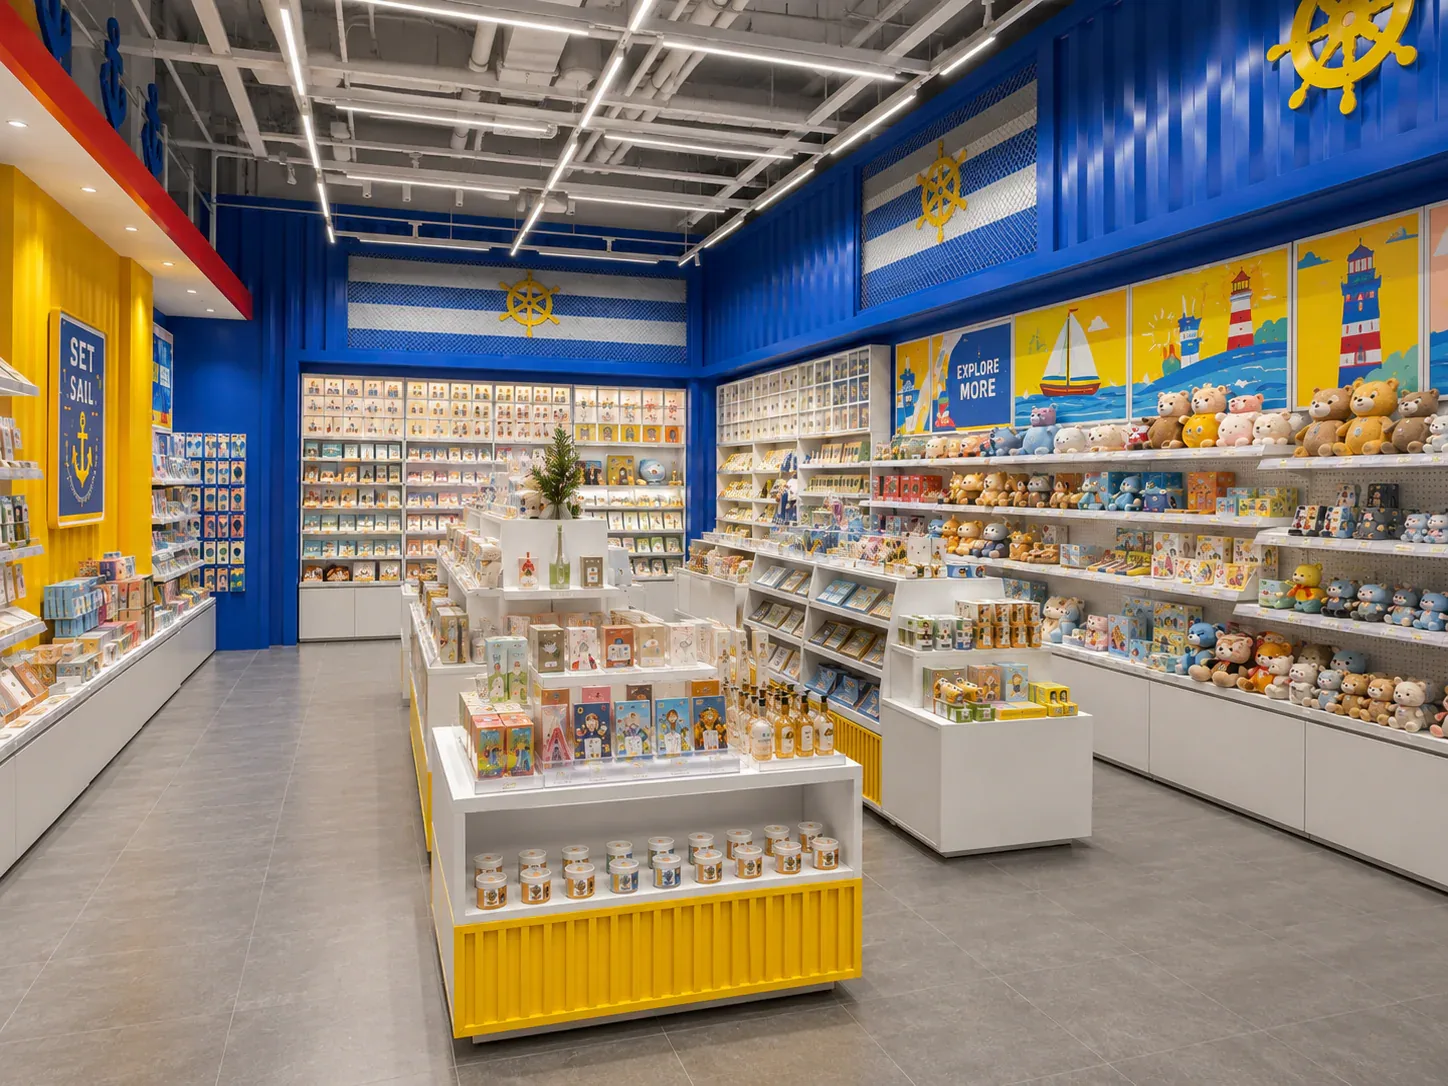
Deciding Which Fixtures to Customize and Which to Standardize
The best fixture programme is rarely the one in which every component is custom, or the one assembled entirely from standard products. A useful choice starts with the job each part must perform.
Read next →Get a project-specific recommendation.
Send your store plan, product sizes, fixture quantities, destination and opening target. BENSON will identify the product fit, engineering inputs and quotation basis.
Start Your Display Project